Updated April 8, 2025
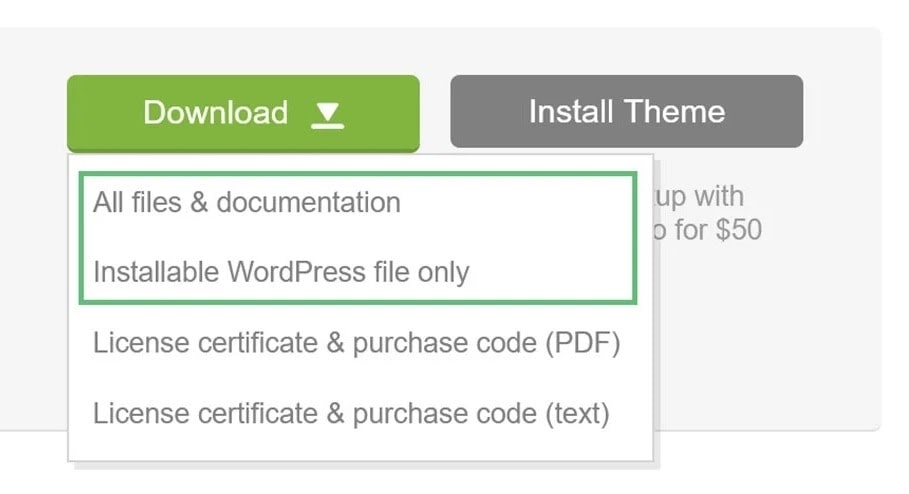
Log in to your ThemeForest account and navigate to the “Download” tab. Locate your purchased theme.
Click the Download button. You can select either:
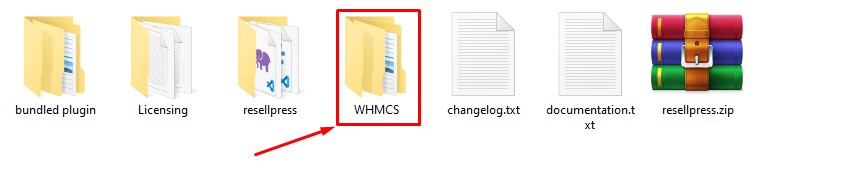
Navigate to Theme folder > WHMCS folder.
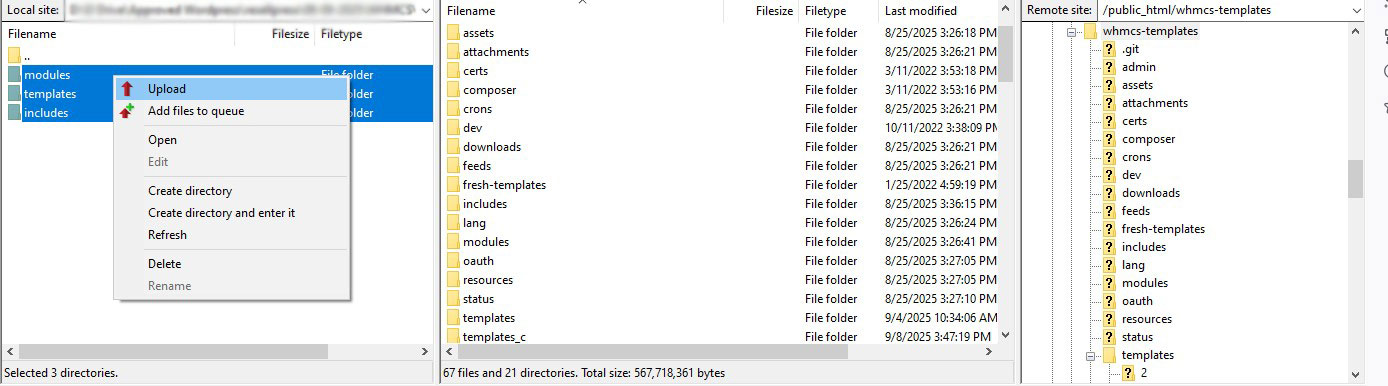
Upload all files from the WHMCS folder to your WHMCS installation directory.
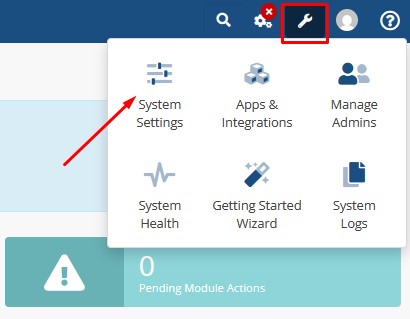
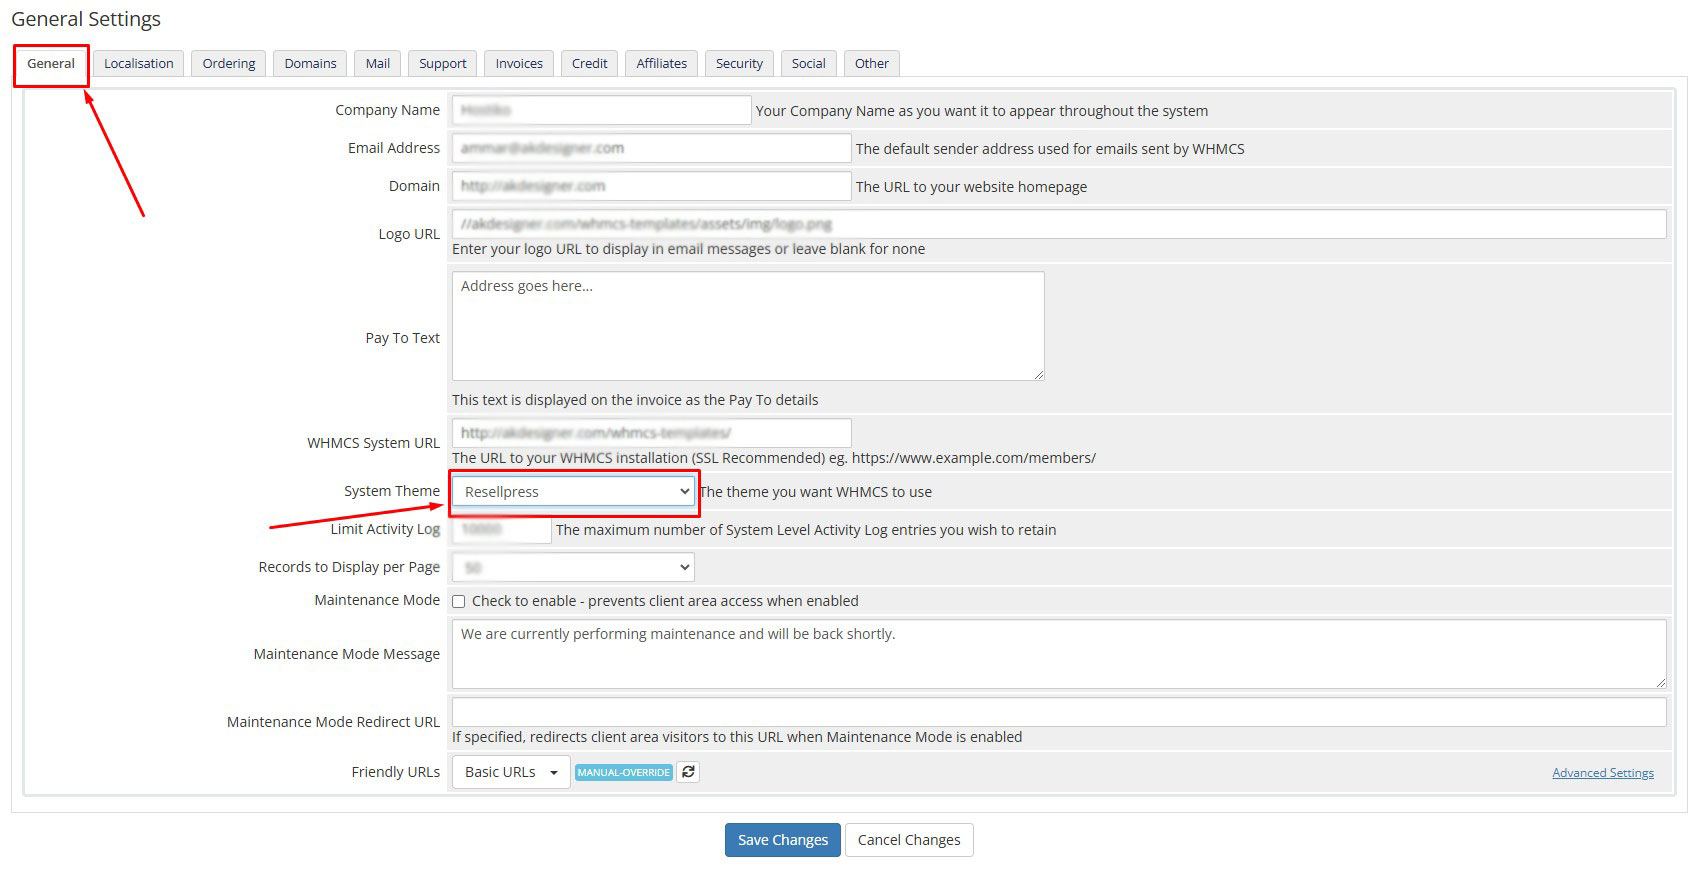
Log in to your WHMCS admin. Hover over the wrench icon at the top right and go to System Settings.
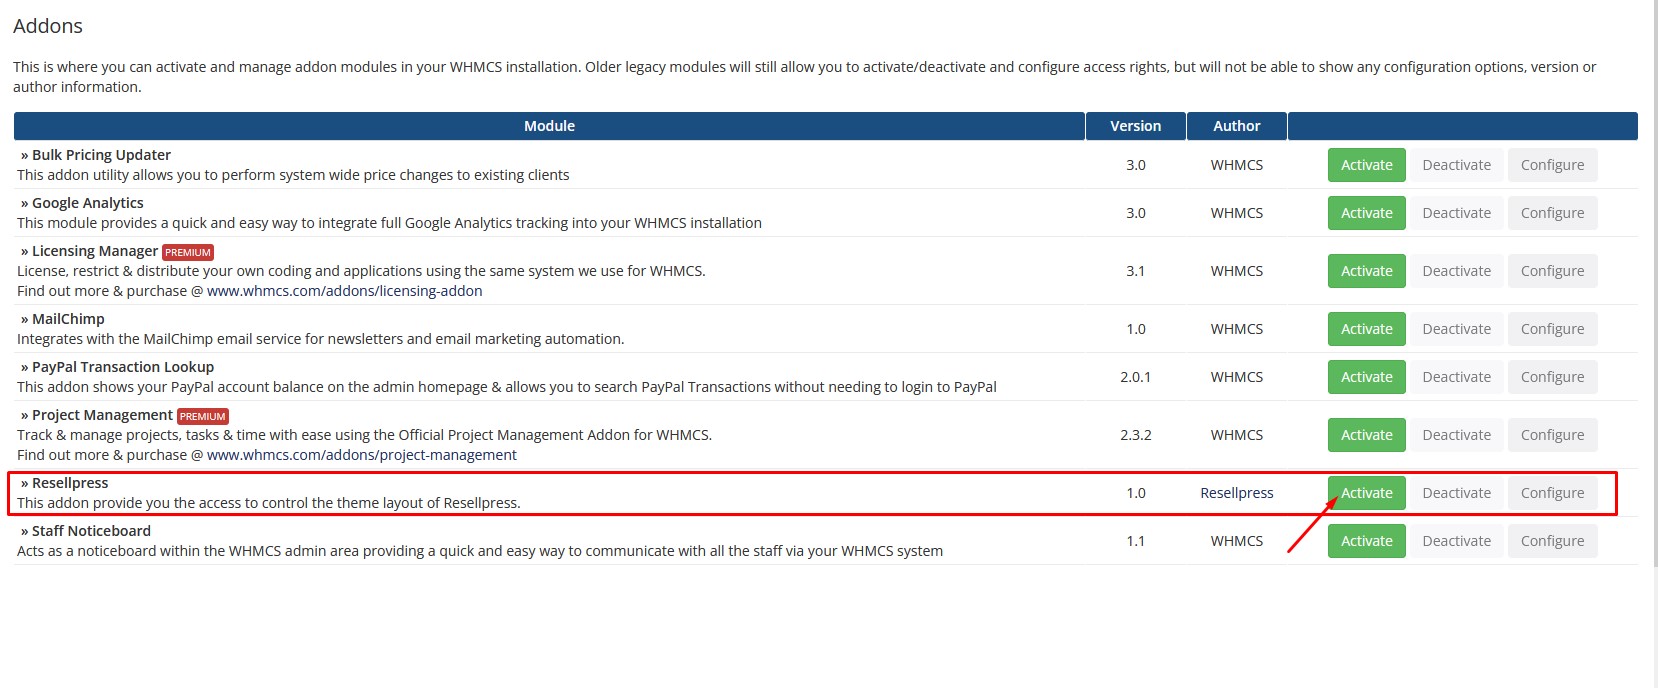
Search for Addon Modules and click on it.
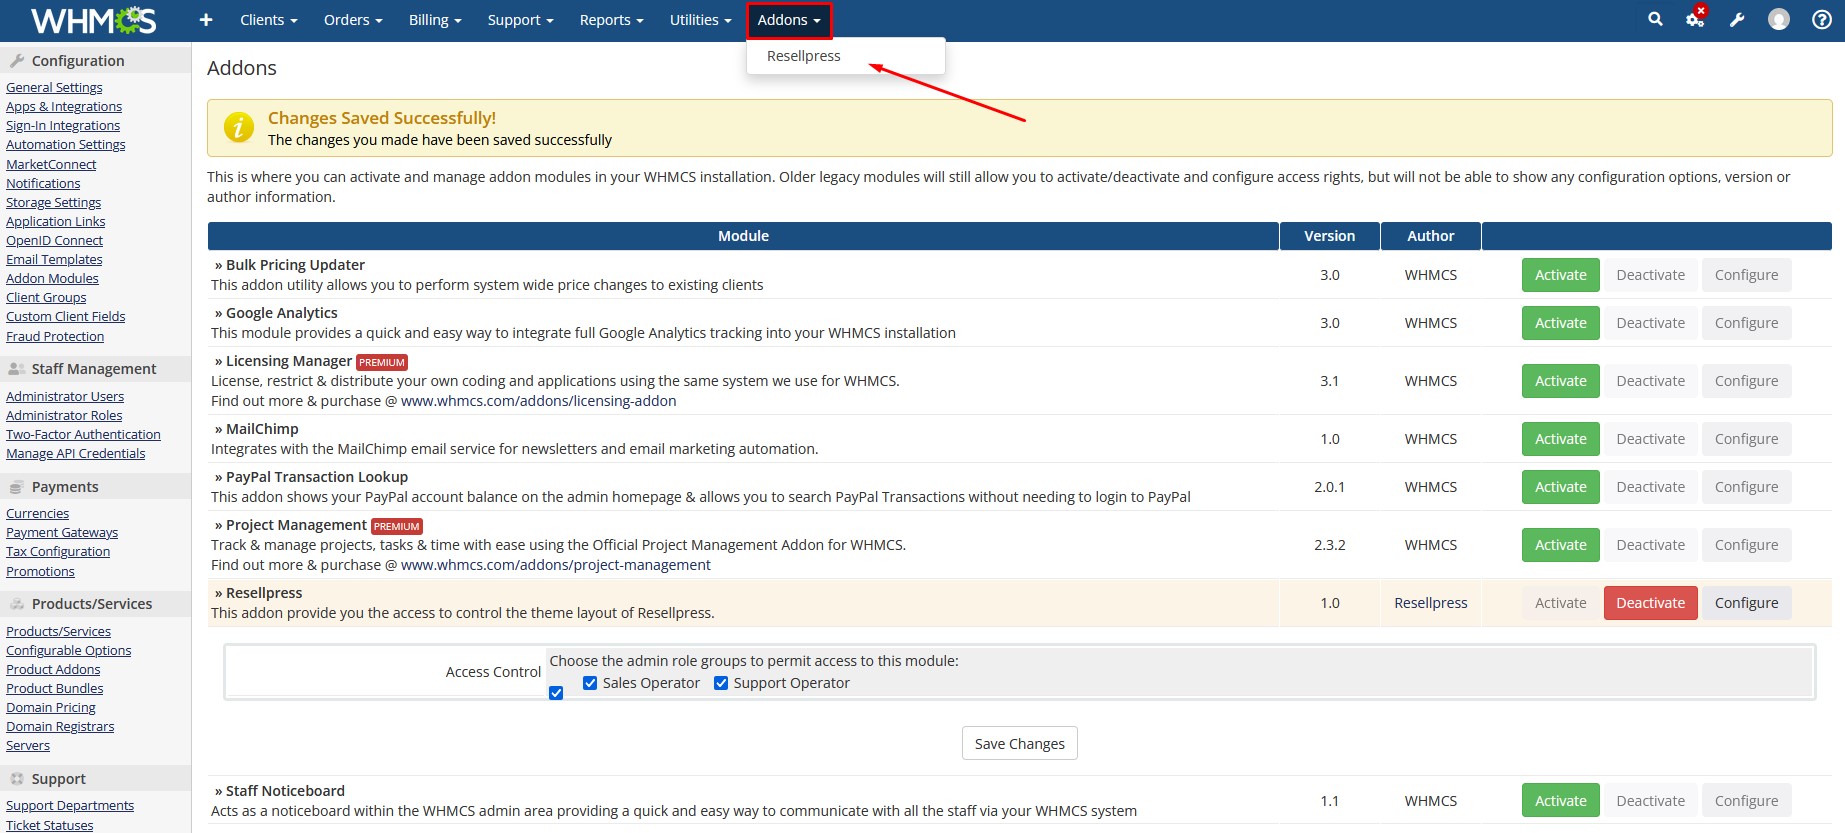
Find and activate it.
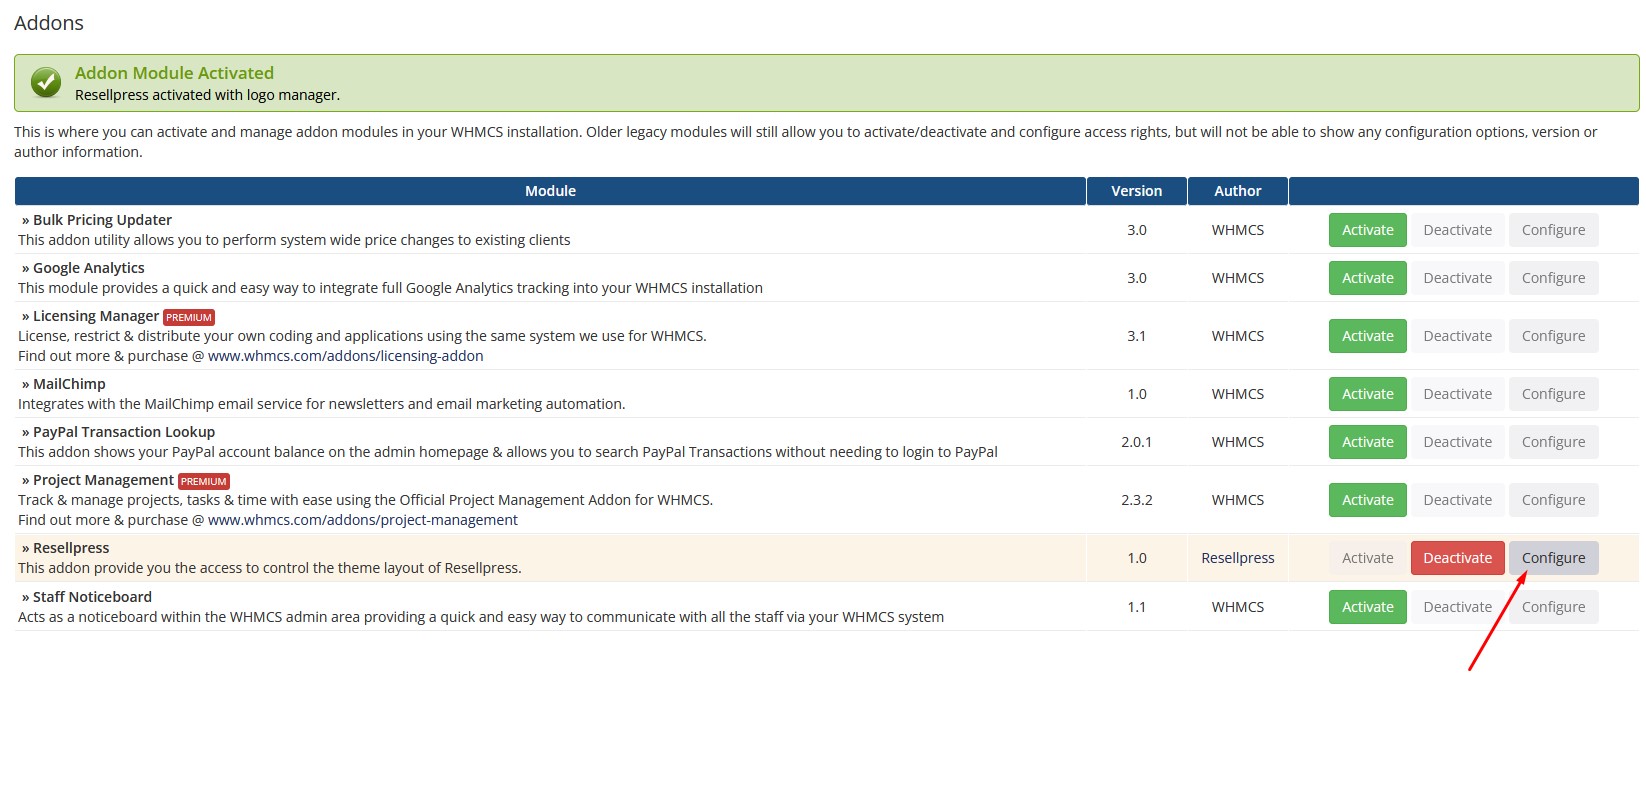
Click on Configure.
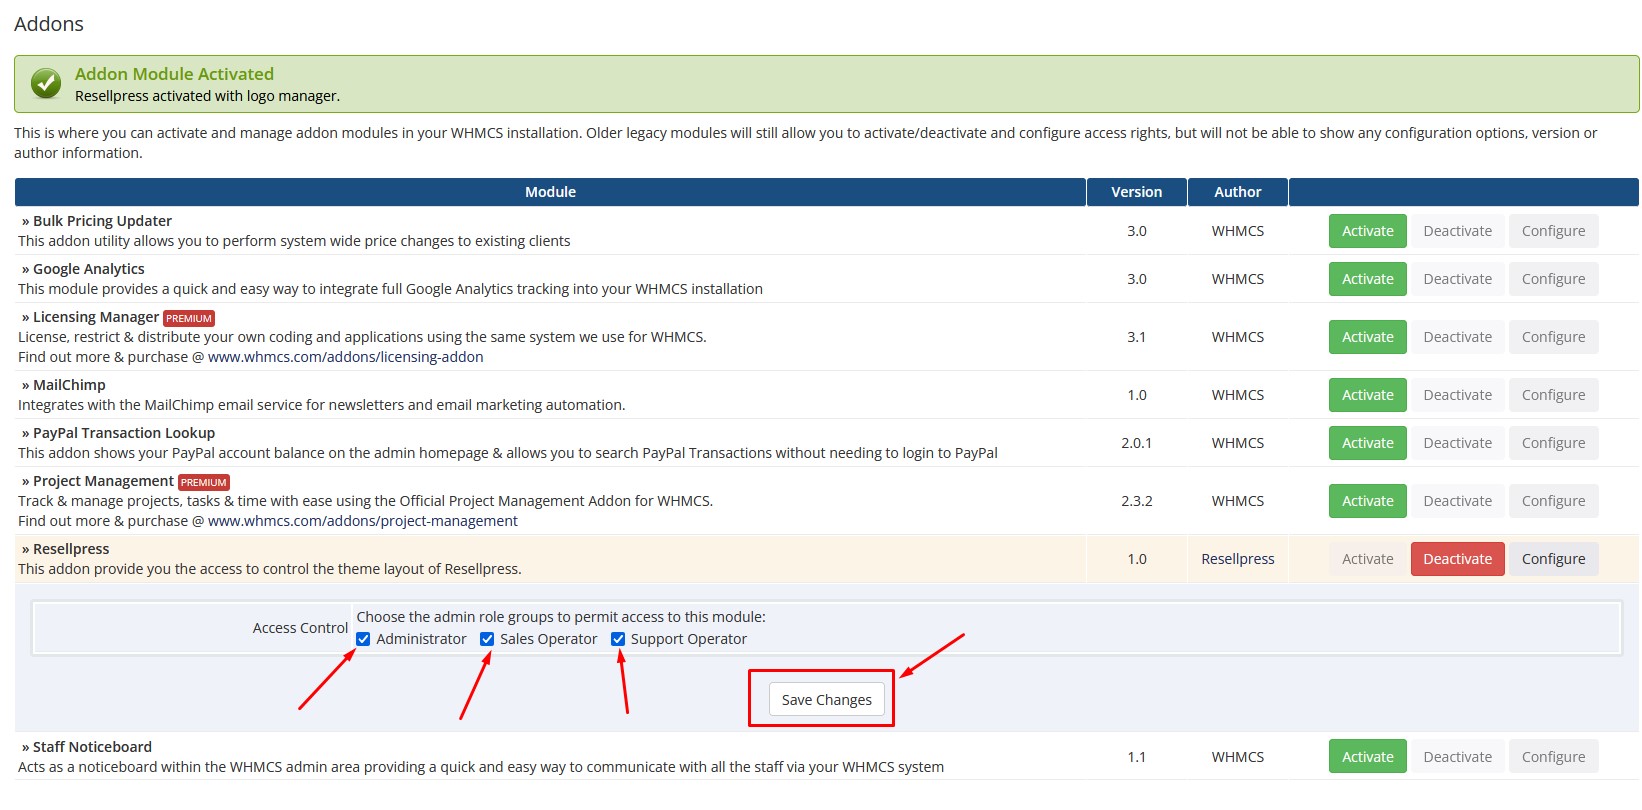
Check the boxes to allow module access and click Save Changes.
Hover over Addons and open .
Click on your Menu and Main Menu if you want to edit the guest menu. Then click Edit next to Primary.

Add or edit the menu items according to your preference.
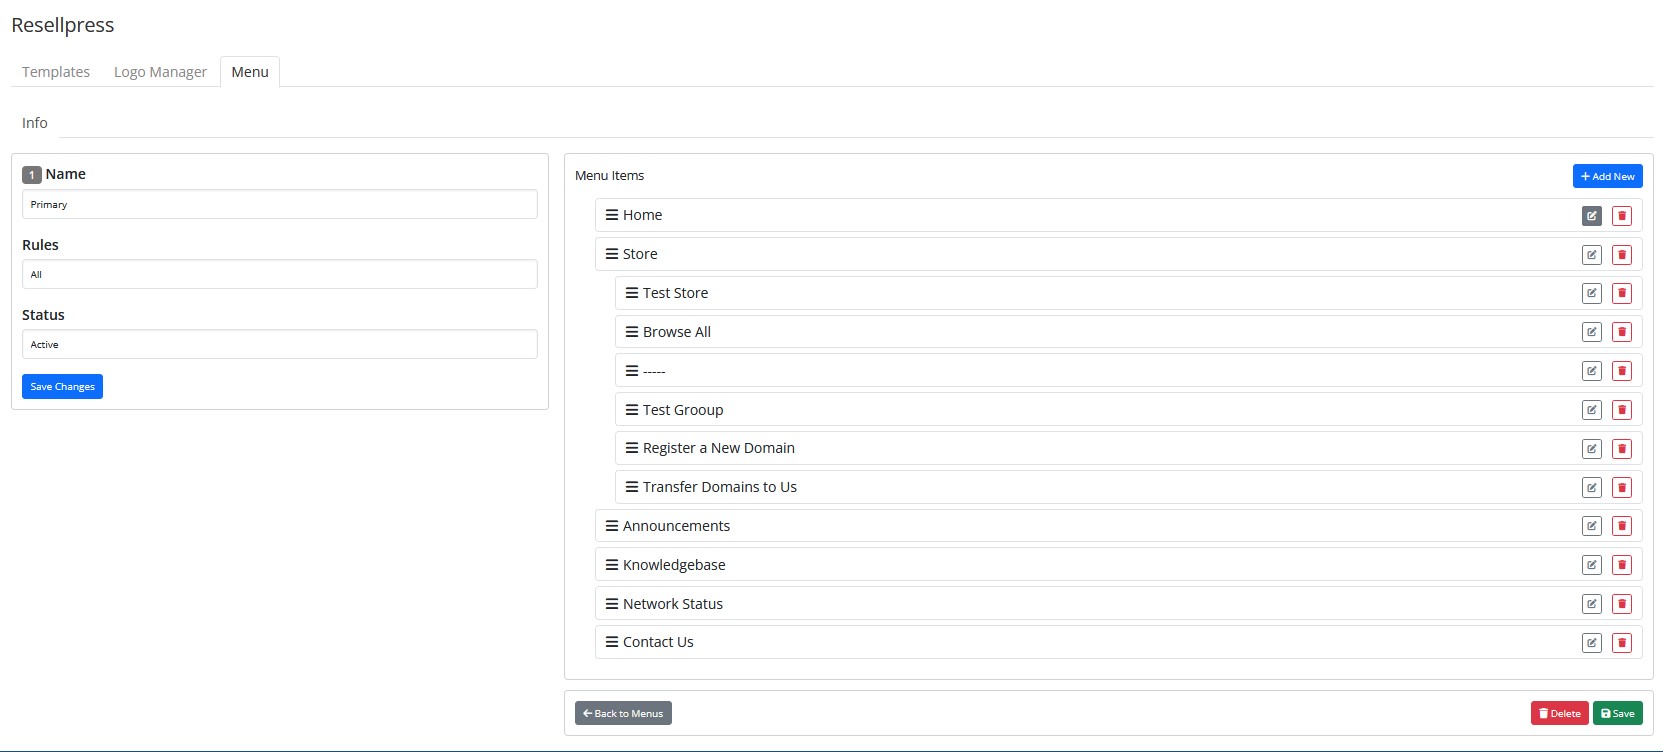
Click on your Menu and Secondary Menu if you want to edit the client menu. Then click Edit next to Secondary.

Add or edit the secondary menu items according to your choice.
